Happy Friday Wanderers! I have been experimenting recently with some different shots for my bookstagram and shared my process. I received a lot of positive feedback so I decided to turn it into a blog post! So (figures crossed life cooperates) I hope to share some of my bookstagram tips and tips 1-2 times a month if you all are interested.
With that said, if there is anything specific you would like to know or see please reach out!
The Depth Shot
As my bookstagram has grown, I have settled into a style. Part of that style is shooting in front of the rainbow section of my bookshelf. Recently, I decided to take that a step further and shoot in front of other backgrounds.
What I Shoot With:
- Nikon D3100
- Nikkor 50mm 1.8G lens
This lens is good for portraits and other shallow depth of field photos. It also produces bokeh (blurred background) easily. The challenges with this lens are that sometimes things are blurred that you don’t want due to the shallow depth of field. Also you need a lot of space or a different lens for larger shots.
The Set Up
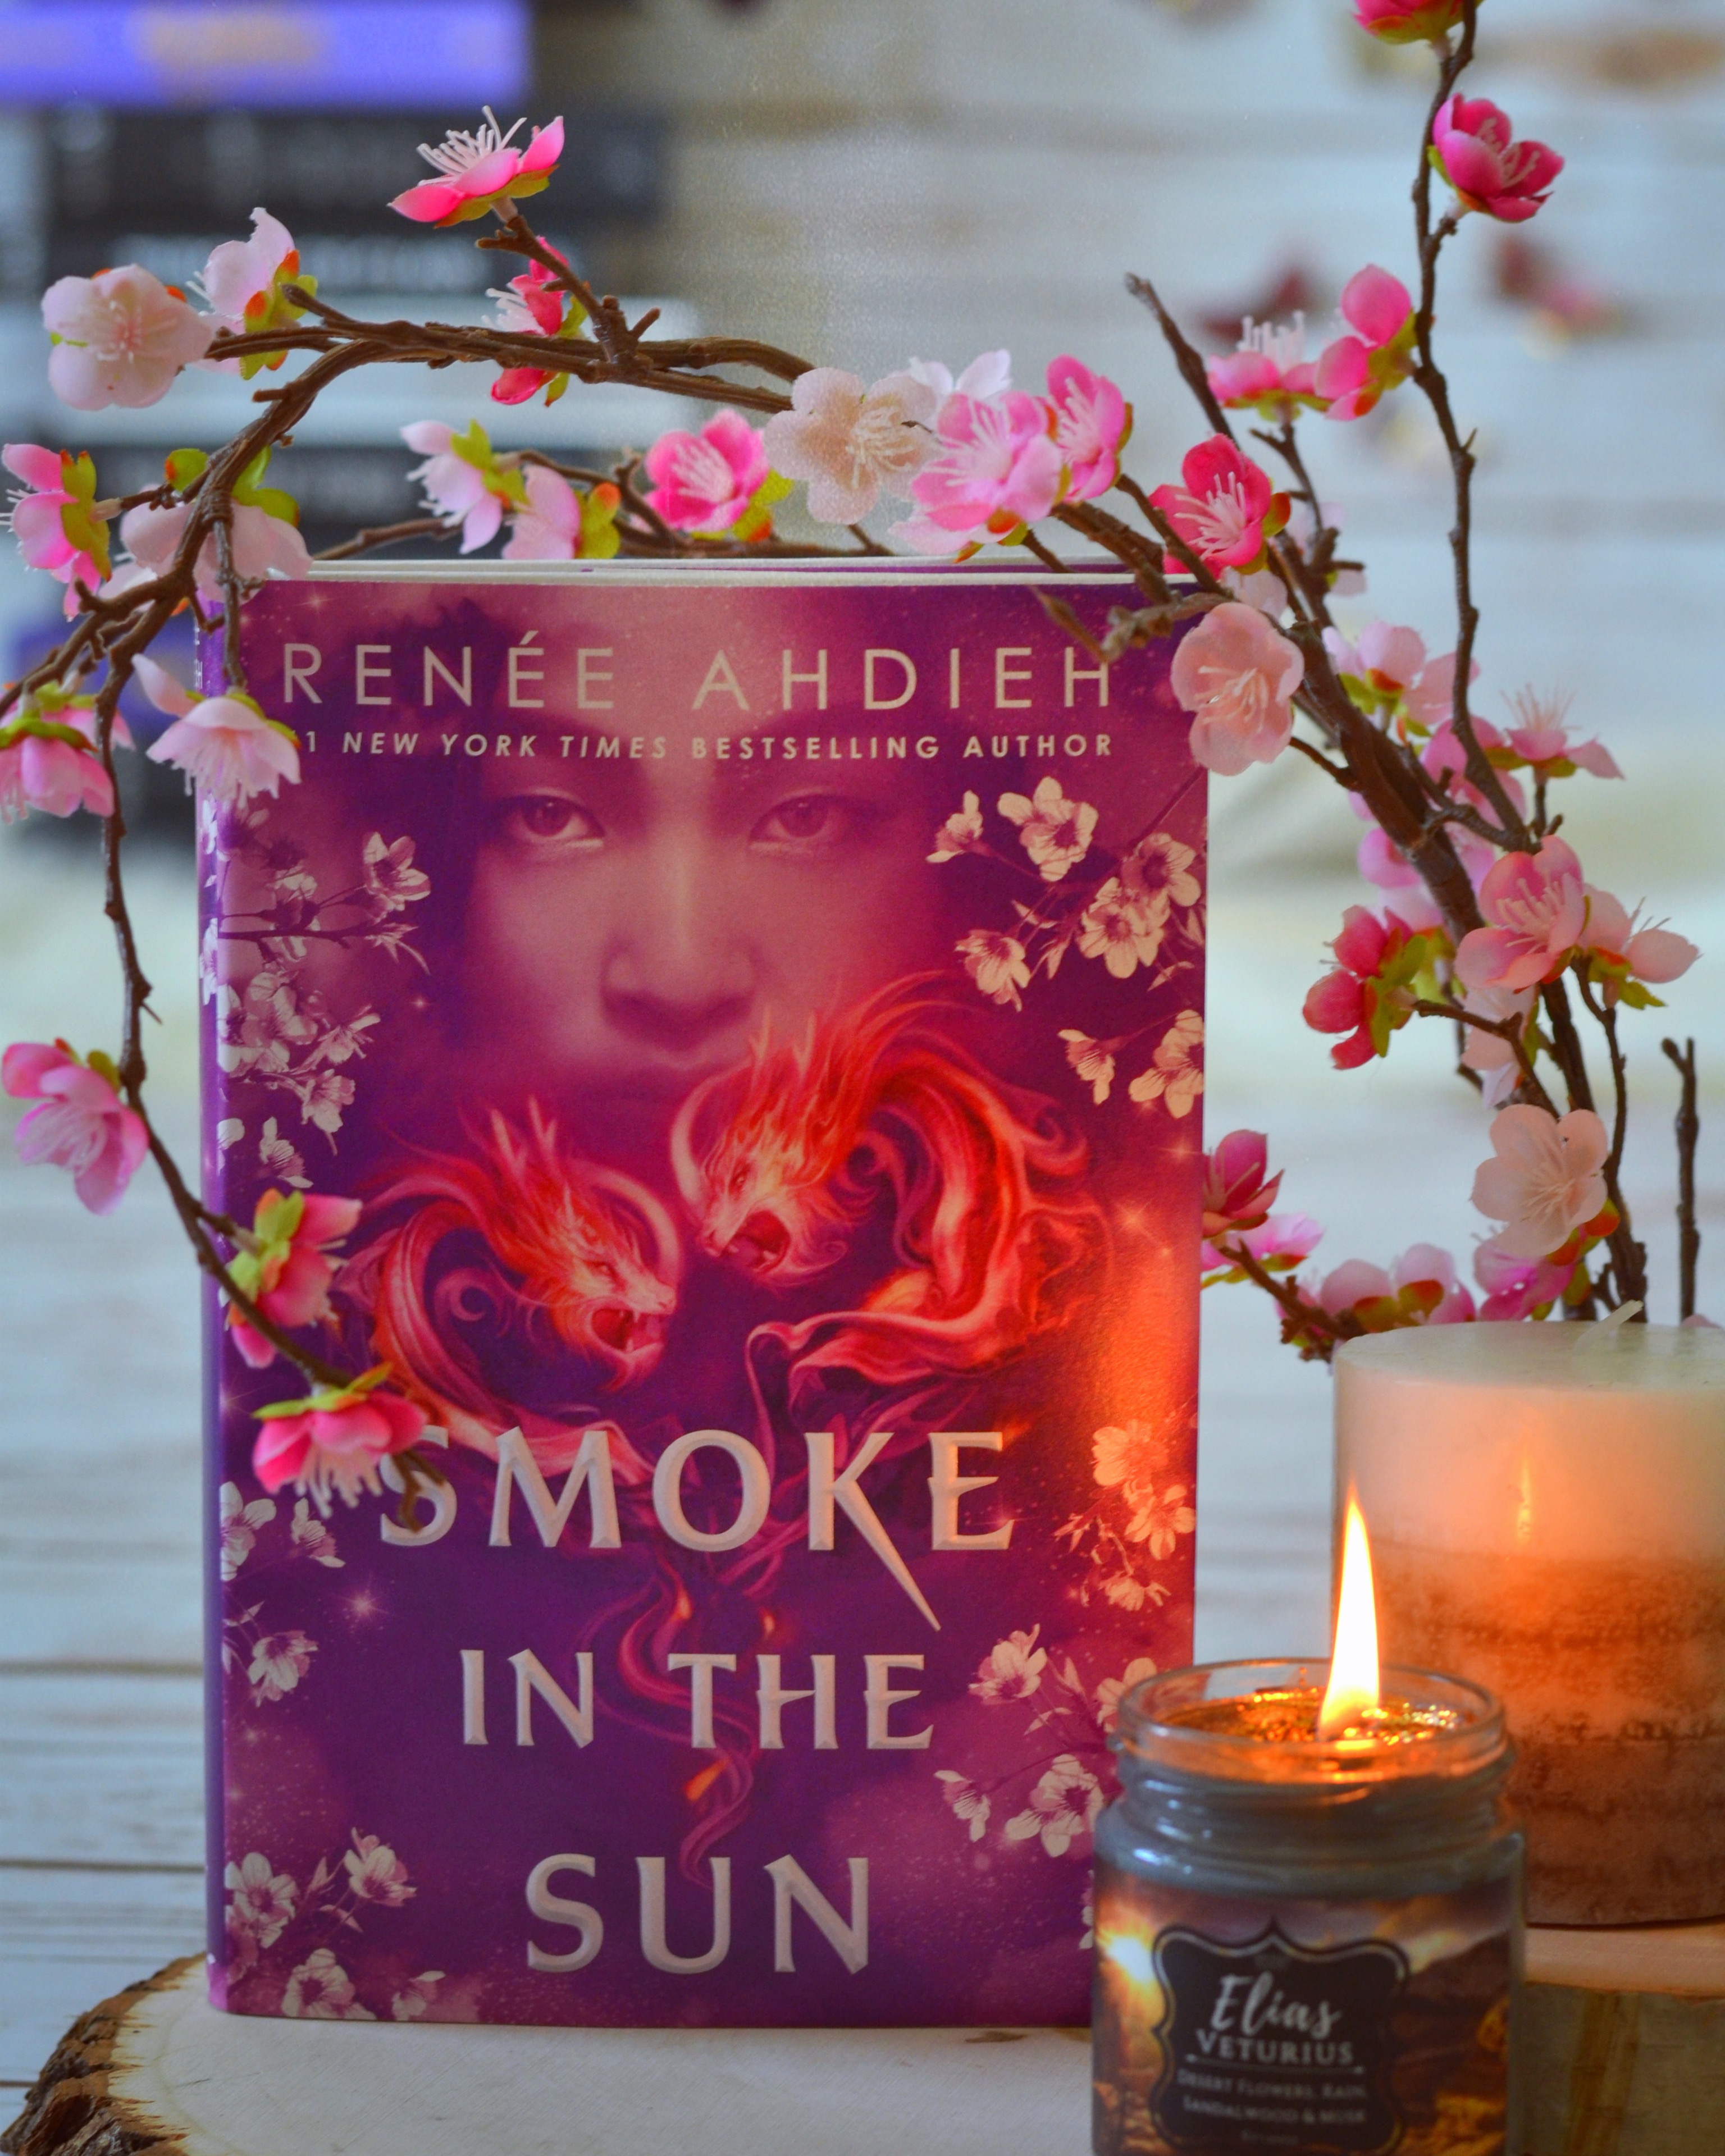
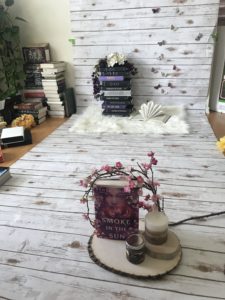 For this shot, I essentially had two complete set ups: the background and the foreground. In the background, I did a book stack with some flowers and a book crown. I LOVE naked books so all the books in the stack are without their dust jackets.
The foreground was set up about 4-5 feet in front of the background. Why? Having the distance between the background and foreground will give that nice bokah that I was trying to capture. In the foreground, I had what I wanted the focus of the shot to be: the book and candle. Plus some additional texture with flowers and the wood.
Generally, I will shoot between 15-30 photos of any one set up. This is an old habit from my days developing film but also after the first couple I can adjust different parts of the photo to achieve the look I want. Hopefully.
Editing
After shooting all the photos, I go back and edit the photos. Personally, I do not do a lot of editing, but due to lighting I will generally adjust the color and tone of the photo.
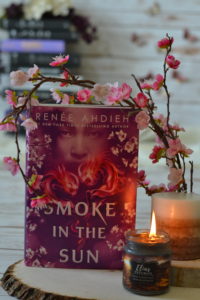
First Edits
I use Picasa (on my PC) to do my initial edits. There are lots of programs to use, this is just the one I’ve had and used the longest.
For this photo I:
- straightened the image
- increased the contrast
- increased the saturation so the cover was brighter
- increased the fill light
Sometimes I have to adjust the tone of the phone if the lighting isn’t the greatest, but in this case I didn’t.
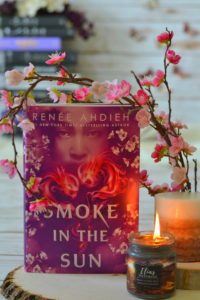
Second Edits
Once the first set of edits are done, I then upload the photo to Instagram. I have been loving the cooler toned photos recently, so I used the Hudson filter to quickly change the tone.
Generally, I use 50% or less on the filters and this photo was about 40%. I also opted to square the photo because I do not care for the white bars on the side. The negative to squaring a vertically shot photo… you loose a lot of the background. Sigh.
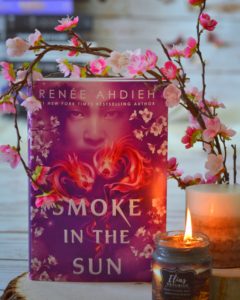
Lessons Learned
Okay so looking back, there are a couple things I might have done differently. First, if I had a greater distance between two sets and then backed up further I may have been able to keep more of the background. This would have still provided the bokah but also given more space to crop down the photo into a square.
This also could have been accomplished with using a different lens that has a greater depth of field.
Last, I probably could have used (or experimented) with more texture in both the fore and backgrounds.
Was this helpful? Should I make this a regular feature?

I haven’t tried this style of shot with my bookstagram! I do love the shallow depth of field. It makes the image so much more colorful!
It does!! It has been fun trying out different shots. I did my first #swapwednesday so had to replicate another phone but with my style and it was pretty awesome trying a layout I wouldn’t have otherwise!